Setting up a journal in less than one hour using vim
So I have been extolling the benefits of journalling to a few friends over the past few months - how it is a way to reflect a bit more deeply on your thoughts, figure out what excites you, interests you or just plain scares you. It is a great way to shut up, shut the outside world and enjoy some solitude!
Since I have been preaching all this, I figured it might be a good idea to start practising what I preach. Armed with nothing more than good intentions and goodwill towards all mankind, I set out to see how I might get some writing done. Without further ado, the requirements:
- Has to be quick (like the Flash).
- Has to be secure (don’t want the CIA to read my rants).
- Should not have connectivity hassles (storm blew out the internet? No Problem!).
- Has to look sufficiently geeky (so I can tell the wife I’m “working” and skip household chores).
- Has to be FREE!
There are quite a few web-based and desktop-based options out there but none of them met all my needs. So I decided to build my own. The wheel, you say? You mean that round thing isn’t my original invention? I had about an hour before I had to feed the cats, so I set that as a target - a journalling system in less than an hour. Possible? Ha!
Here’s the first attempt, using just vim and zsh.
Basic Setup
# Create a folder and write a simple script to open a file.
$> mkdir /Journal && cd /Journal && touch writer.sh && chmod u+rwx writer.sh`

# Here's `writer.sh`
~~~~~~~~~~~~~~~~~~~~~~~~~~~~~~~~~~~~~~~~~~~~~~~~~~~~~~~~~~~~~~~~
#!/bin/bash

# create a folder with today's date if it does not exist
folder=`date +%Y_%m_%d`
mkdir -p $folder
cd $folder

# start vim in insert mode + create file for today's journal.
vi +star `date +%Y%m%d`".jrnl"
~~~~~~~~~~~~~~~~~~~~~~~~~~~~~~~~~~~~~~~~~~~~~~~~~~~~~~~~~~~~~~~~

# Write an alias into your zshrc or bash_profile so you can get to it from anywhere.
alias journal="cd /Journal;./writer.sh"
That’s the basic setup all done - in about 10 mins. Time to get a wee bit fancy!!!
Playing around to make vim journal-friendly
Here’s some of the additions to my ~/.vimrc file, for elegant text-editing…
FYI, I use Vundle as my vim plugin manager.
# Note: comments in .vimrc start with a " and not a # - this is just for easier markdown.

# Enable spell check and also toggle it.
set spell spelllang=en_gb
cmap <F6> setlocal spell!


# Setup a simple statusline - the focus is on less clutter and just the info I need.
function! WordCount()
   let s:old_status = v:statusmsg
   let position = getpos(".")
   exe ":silent normal g\<c-g>"
   let stat = v:statusmsg
   let s:word_count = 0
   if stat != '--No lines in buffer--'
     let s:word_count = str2nr(split(v:statusmsg)[11])
     let v:statusmsg = s:old_status
   end
   call setpos('.', position)
   return s:word_count
endfunction

hi User1 ctermbg=black ctermfg=red cterm=BOLD guibg=black guifg=red gui=BOLD
set laststatus=2
set statusline=
set statusline+=%1*                             # use the highlight specified above.
set statusline+=%<\                             # cut at start
set statusline+=%-40t\                          # path
set statusline+=%=                              # left/right separator
set statusline+=%10([%l,%c]%)\                  # line and column
set statusline+=(wc:%{WordCount()})             # word count

# Some journalling options
# Every time you open a journal file (create/edit), append the timestamp
autocmd VimEnter *.jrnl $pu=strftime('%n[%a, %d %b %Y %T %z]%n%n')
# Set line number
autocmd VimEnter *.jrnl setl number
# Indicate column 120 - just to get a visual indication of an end margin.
autocmd VimEnter *.jrnl set colorcolumn=120
# Indicate the current line.
autocmd VimEnter *.jrnl set cursorline
That’s all folks!
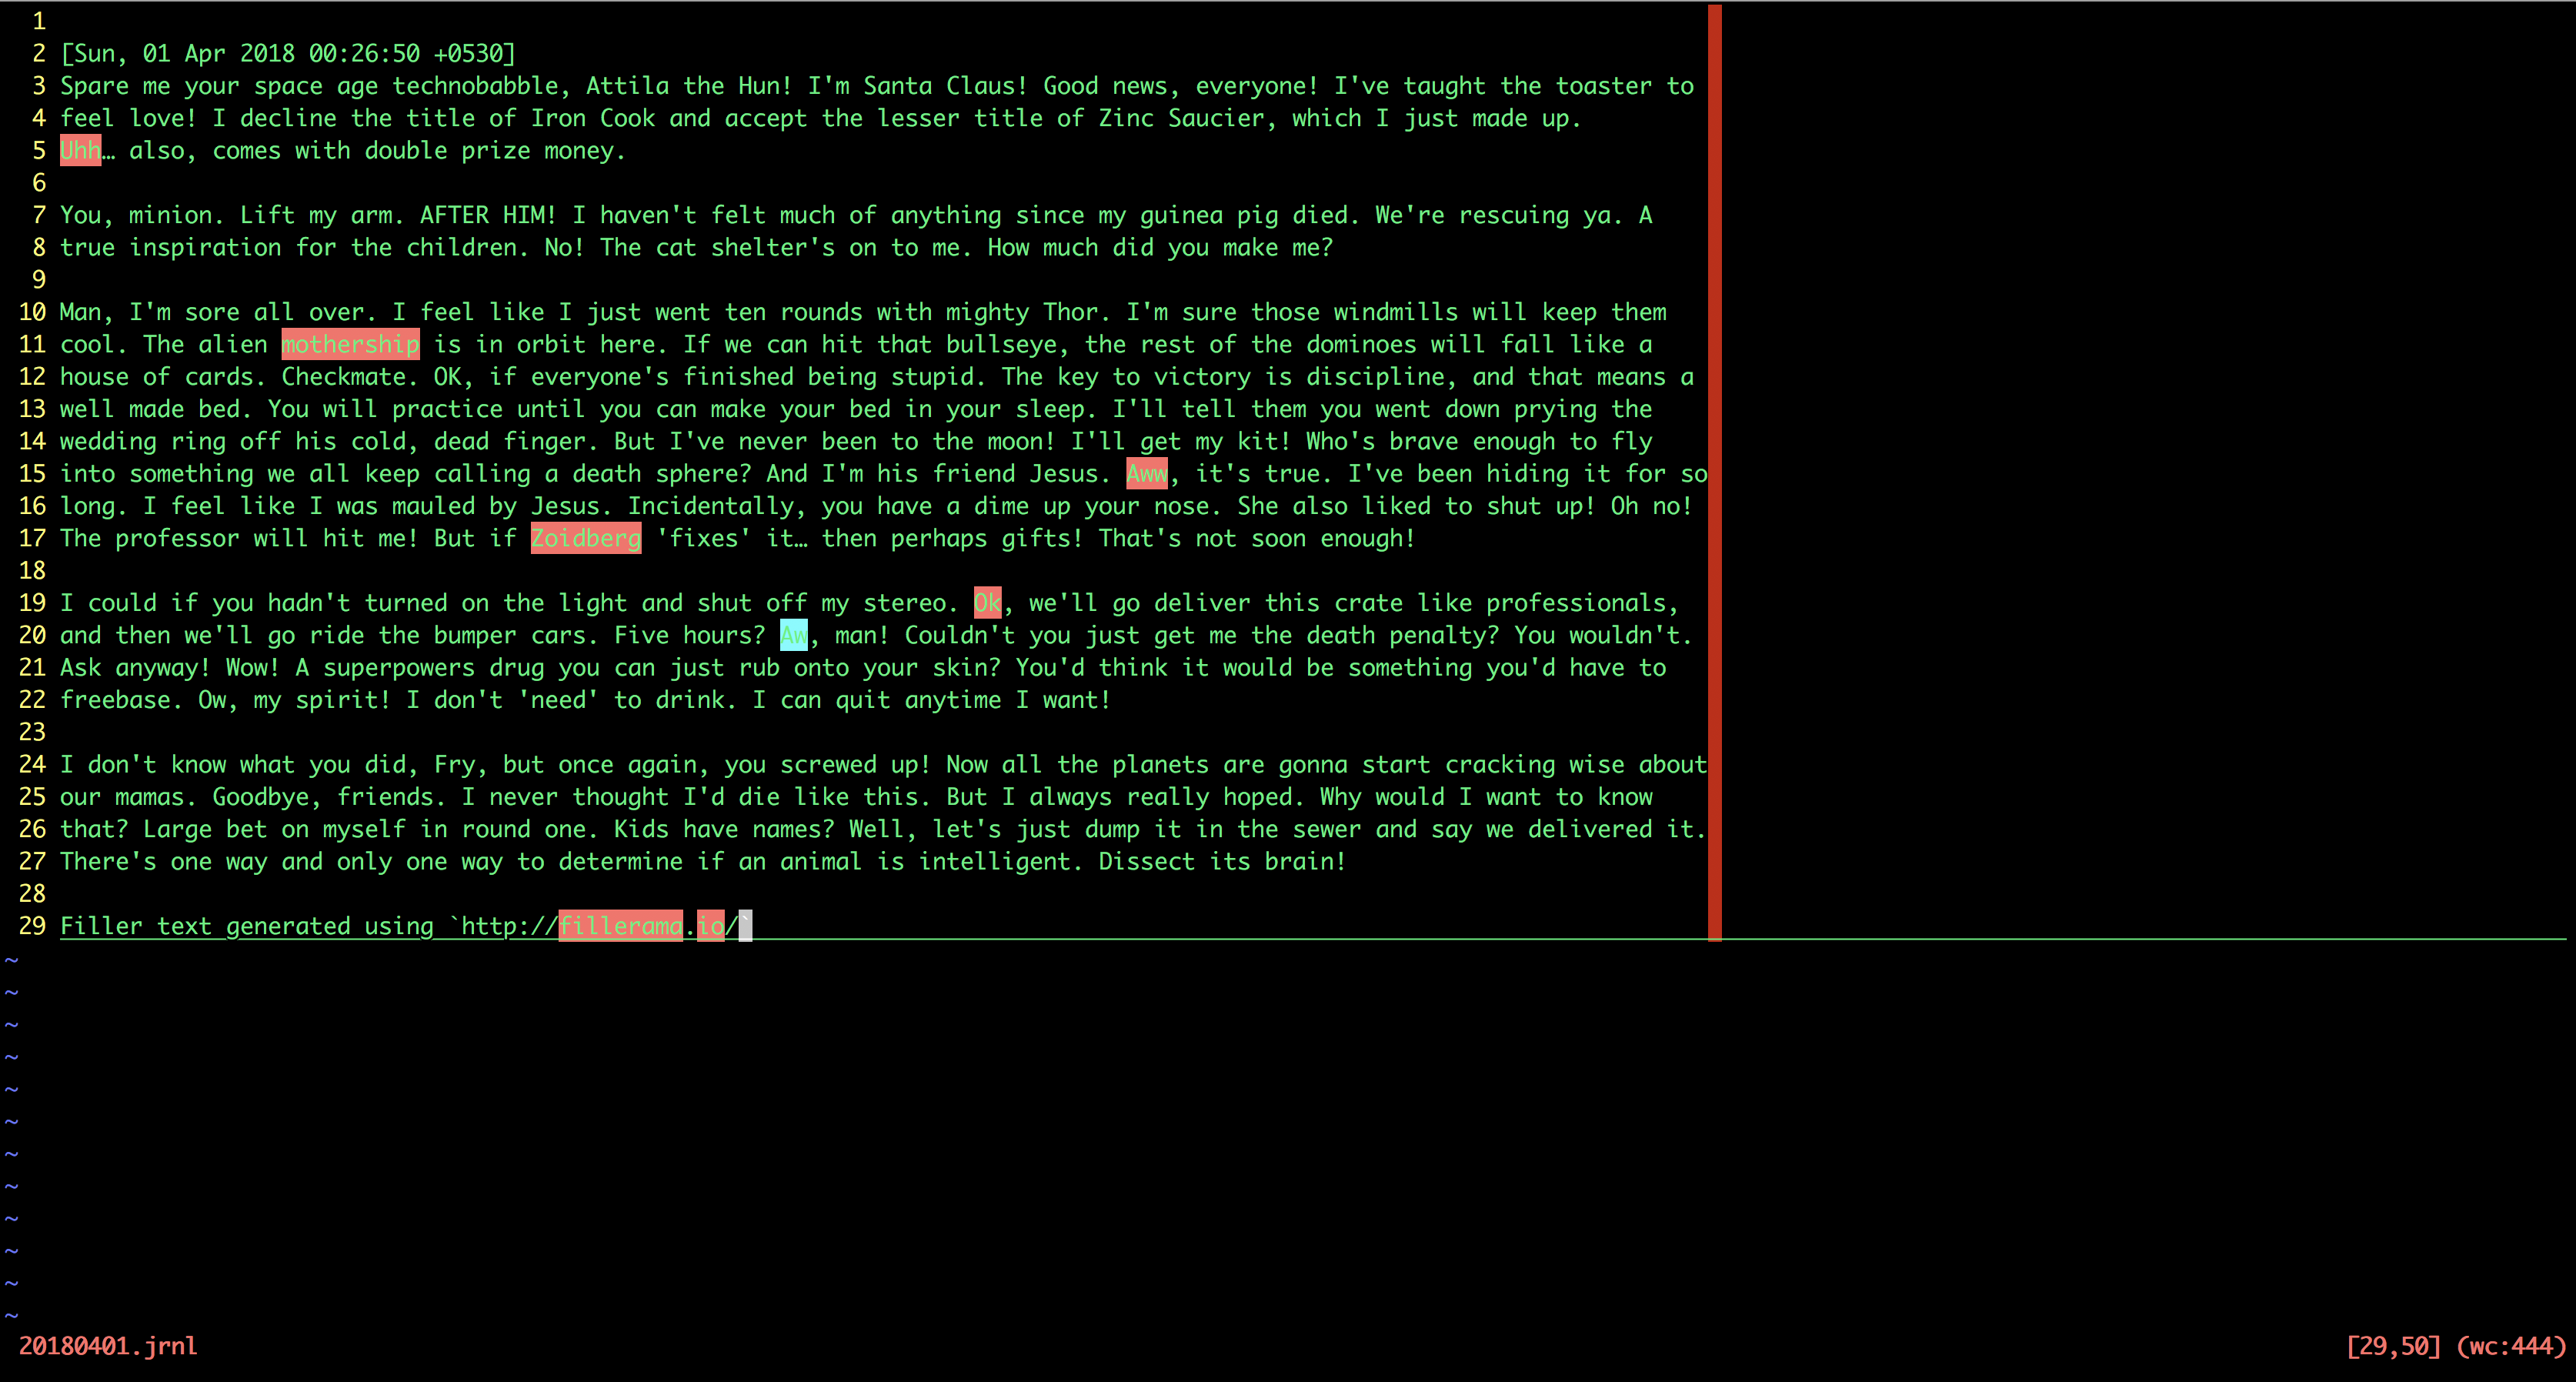
This is what it finally looks like! Simple and easy to use.
